Three things you'll need to hang your art perfectly (the first time) are craft paper, your floor and heavy duty wall hangers!
Here are the easy steps to hanging your art.
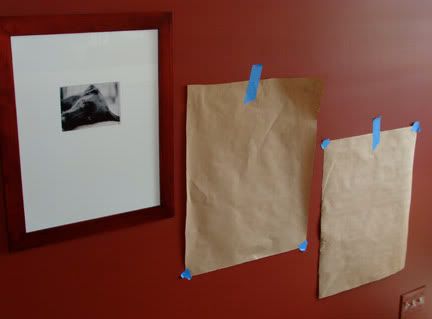
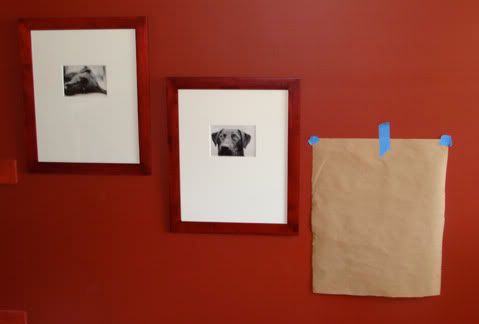
First, get a large sheet(s) of craft paper (or any large paper). I have a huge roll of craft paper for my girls' art table, so I use that. Cut out pieces of paper to match each piece of art you'll be hanging. Grab some painters tape for hanging the paper on the wall.
The second step is arranging the art and this is where your floor comes in. If you have many pieces in a variety of sizes I recommend you find a large spot on your floor and arrange your art there (measure your wall space and set the same size space on your floor). This lets you move things around and see how they work together before you put any holes in the wall.
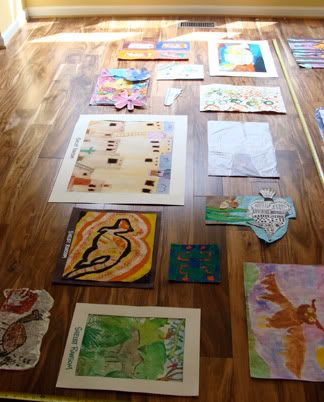
{This is a client's art on her floor - a great way to see how the pieces work together size-, color- and shape-wise. Play until you get it right}
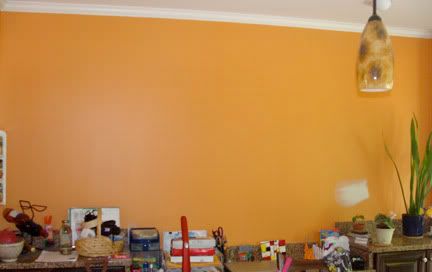
{The wall where the art on the floor will live eventually, once framed!}
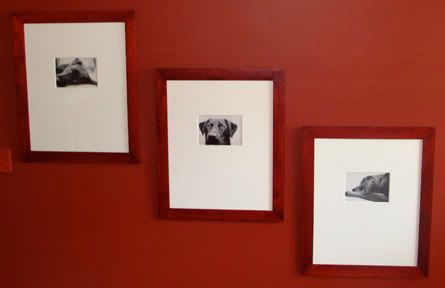
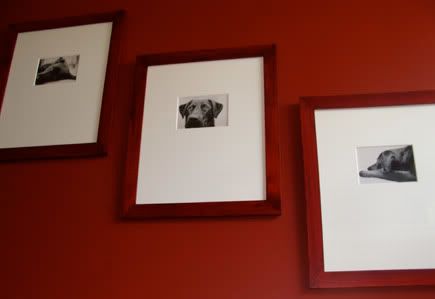
If you only have a few pieces (like me), you can skip the floor and take your craft paper right to the wall. Hang them with the painter's tape. Step back and see how it looks. Move them around until you get the right positions.
Finally, use these great picture hooks - no tools needed! You simply stick them into the wall, turn them right side up and hang your art! A few notes on this. Some art is easier to hang with a small nail and picture hook, but using the large hooks is so easy that I use them whenever I can.
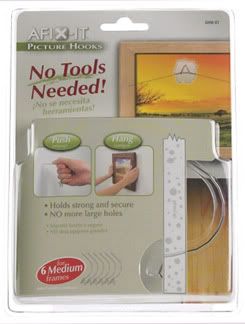
{Many stores sell these heavy duty picture hooks...find them online here (complete with demo): MonkeyHook or ACE hardware}
Bonus tips! Keep the craft paper on the wall to mark and measure your hook location. Mark the spot with a pen or pencil on the paper (no marks on your wall!) and place your hook in the wall over your paper. Once in the wall, remove the paper and hang the picture!
And finally, to secure your larger art (especially when hung with one hook, causing a lot of movement), buy some self-stick rubber pads to put on the bottom corners of your art. They help prevent scratches on your walls and bring the bottom of the art out in line with the top (which can be extended off the wall a bit from the hook).
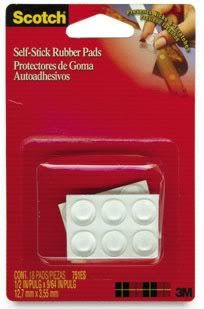
{These pads stick to the back of the frame to even the picture out from top to bottom, keep the frame from bouncing around and scratching your wall}
As with many jobs, the right tools make all of the difference. These tips should help take the stress and wonder out of out hanging your art and ideally they help you do it right the first time!
Happy decorating!



No comments:
Post a Comment